

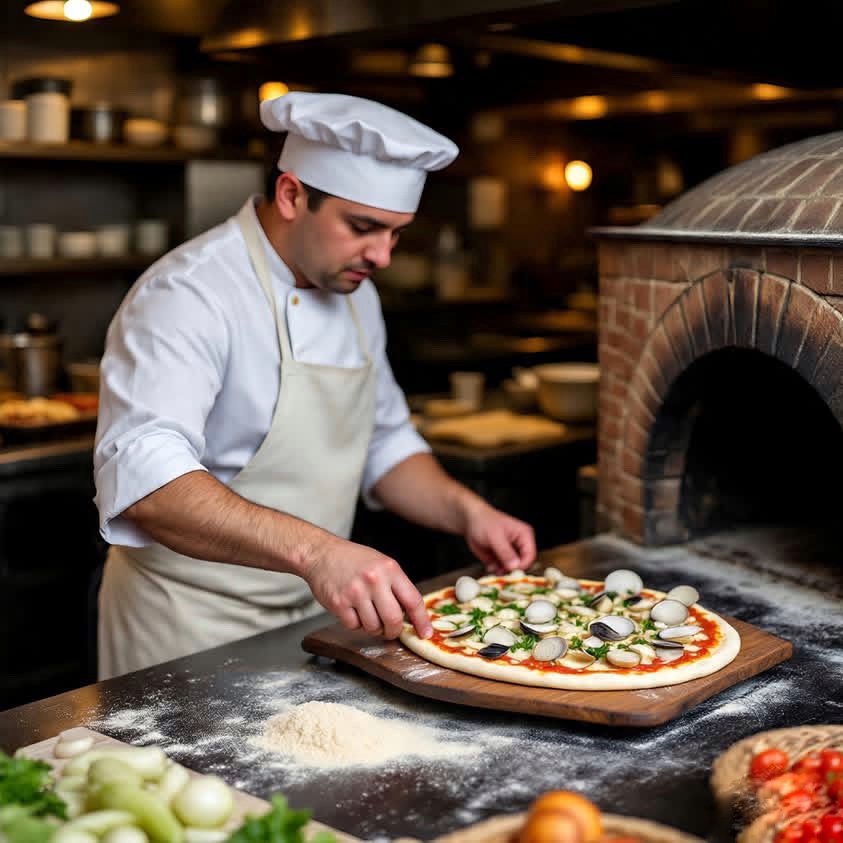
Step-by-step guide to New Haven style clam pizza with fresh clams, garlic oil, and crispy crust. Last summer I drove through New Haven, Connecticut, on what was supposed to be a quick pit stop during a road trip to Boston. Three hours later, I was still there, completely mesmerized by what locals proudly call their “apizza” scene. At Frank Pepe’s, I ordered something that sounded absolutely ridiculous to my pepperoni-trained palate: white clam pizza with garlic.
That first bite changed everything I thought I knew about pizza. The combination of fresh clams, aromatic garlic, and olive oil on a thin, crispy crust created something that tasted like the ocean had decided to vacation in Italy. I spent the rest of my trip obsessing over how to recreate this clam and garlic pizza masterpiece in my own kitchen, and honestly, it became something of a personal mission.
The beauty of white clam pizza lies in its simplicity, which is probably why it took me so many failed attempts to get it right. You would think that fewer ingredients would make it easier, but actually, it means each element has to be perfect. The clams need to be fresh and properly prepared, the garlic has to be cooked just right to avoid bitterness, and the pizza dough must be thin enough to crisp up without getting soggy from the clam juices.
I learned through trial and error that the key to authentic clam pizza starts with selecting the right clams. Fresh littleneck clams work best because they are tender and sweet, and their size makes them perfect for pizza portions. I usually buy about two pounds for two large pizzas, though I always grab a few extra because some inevitably do not open during steaming. The clams should be tightly closed when you buy them, or they should snap shut when tapped. Dead clams stay open no matter what you do, and using them is asking for trouble.
Steaming the clams is where the real magic begins. I place them in a large pot with about half a cup of white wine and cover tightly. The steam opens the shells in about five to eight minutes, and the liquid that remains in the pot becomes liquid gold for your pizza. This clam broth, combined with the wine and natural juices, creates the base for what will become your pizza sauce. Save every drop of this precious liquid because it carries the essence of what makes clam and garlic pizza so special.
Preparing the garlic requires patience and attention because burnt garlic will ruin your entire pizza. I slice about six cloves thin rather than mincing them, which allows them to release their flavor gradually and creates those beautiful golden pieces that you see scattered across the best clam pizzas. Heat good olive oil in a small pan over medium-low heat, then add the sliced garlic. The goal is to cook it until it becomes fragrant and just barely golden, which takes about three to four minutes. The aroma that fills your kitchen during this process is absolutely intoxicating.
Once the garlic reaches that perfect golden state, remove it from heat and let it cool slightly. This garlic-infused oil becomes the foundation of your pizza, and you will use it to brush the dough before adding the clams. The combination of garlic oil and clam juice creates a natural sauce that soaks into the dough just enough to add flavor without making it soggy.
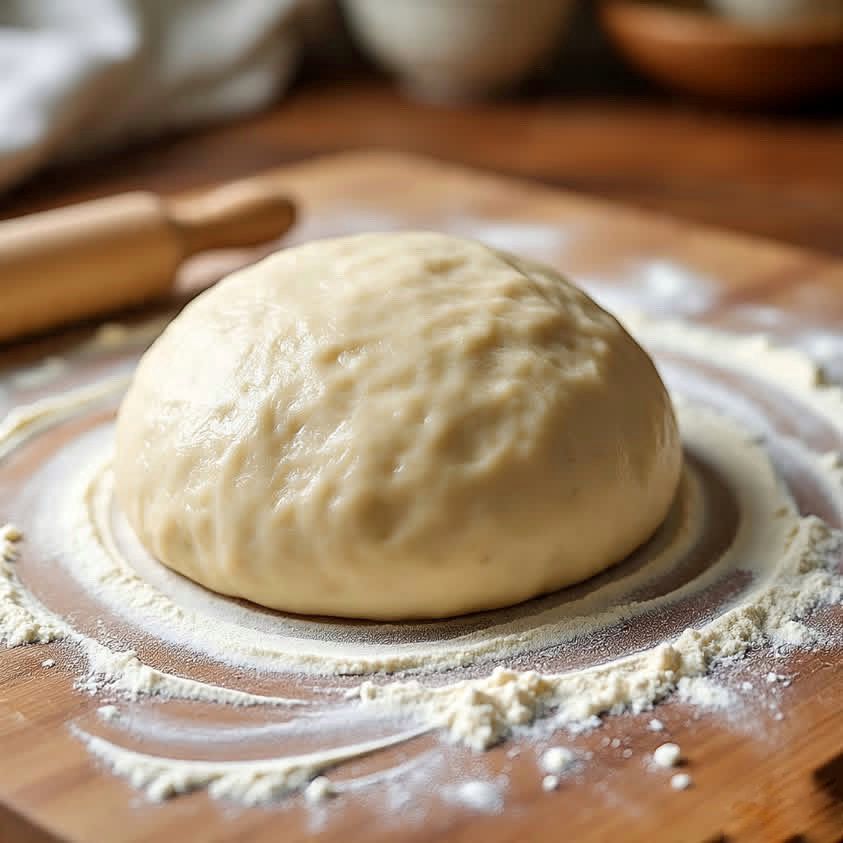
The pizza dough for white clam pizza should be rolled thin, similar to New Haven style, which creates a crispy crust that can handle the moisture from the clams. I prefer making my own dough, but honestly, a good quality store-bought version works fine if you are short on time. The crucial step that many people skip is pre-baking the dough for about five minutes before adding the toppings. This prevents the bottom from getting soggy when you add the clam mixture.
Assembling your clam and garlic pizza requires a light touch. Start by brushing your pre-baked pizza dough with the garlic oil, making sure to distribute those golden garlic pieces evenly across the surface. Add the steamed clam meat, then drizzle some of the reserved clam juice over the top. The amount depends on how much ocean flavor you want, but start conservatively because you can always add more next time. I usually add a light sprinkle of grated Parmesan cheese, though purists might argue this is unnecessary.
Baking should happen at the highest temperature your oven can handle, usually around 500 degrees Fahrenheit. The high heat helps crisp the crust while keeping the clams tender. Most home ovens need about eight to ten minutes, but keep watching because thin crust can go from perfect to burnt quickly. Fresh oregano or parsley added after baking brightens the whole pizza and adds a nice color contrast.
The finished clam pizza should have a golden, crispy crust with the clams heated through but not overcooked. Let it cool for just a minute before slicing because that garlic oil will be molten hot. Every time I make this pizza, I remember that skeptical moment in New Haven and smile. Sometimes the best culinary discoveries come from trying something that initially sounds completely wrong but turns out to be absolutely perfect.
Reference
Bhaskar, N., Jadhav, V. B., & Mourya, V. K. (2023). Antimicrobial effect of garlic against foodborne pathogens in ground mutton. Food Control, 144, 109387. https://doi.org/10.1016/j.foodcont.2023.109387
Borlinghaus, J., Albrecht, F., Gruhlke, M. C., Nwachukwu, I. D., & Slusarenko, A. J. (2014). Allicin: Chemistry and biological properties. Molecules, 19(8), 12591–12618. https://doi.org/10.3390/molecules190812591
Cavallito, C. J., & Bailey, J. H. (1944). Allicin, the antibacterial principle of Allium sativum. I. Isolation, physical properties and antibacterial action. Journal of the American Chemical Society, 66(11), 1950–1951. https://doi.org/10.1021/ja01238a051